https://llm.atxp.ai as the base URL and your ATXP connection string as the API key.
Set up your account
Visit your ATXP account dashboard and copy your account connection string. It should look something like this:
Configure your desktop application
We’re going to use Goose as an example, but you can use any desktop application that supports OpenAI-compatible providers.In Goose, navigate to Settings → Models → Configure Providers.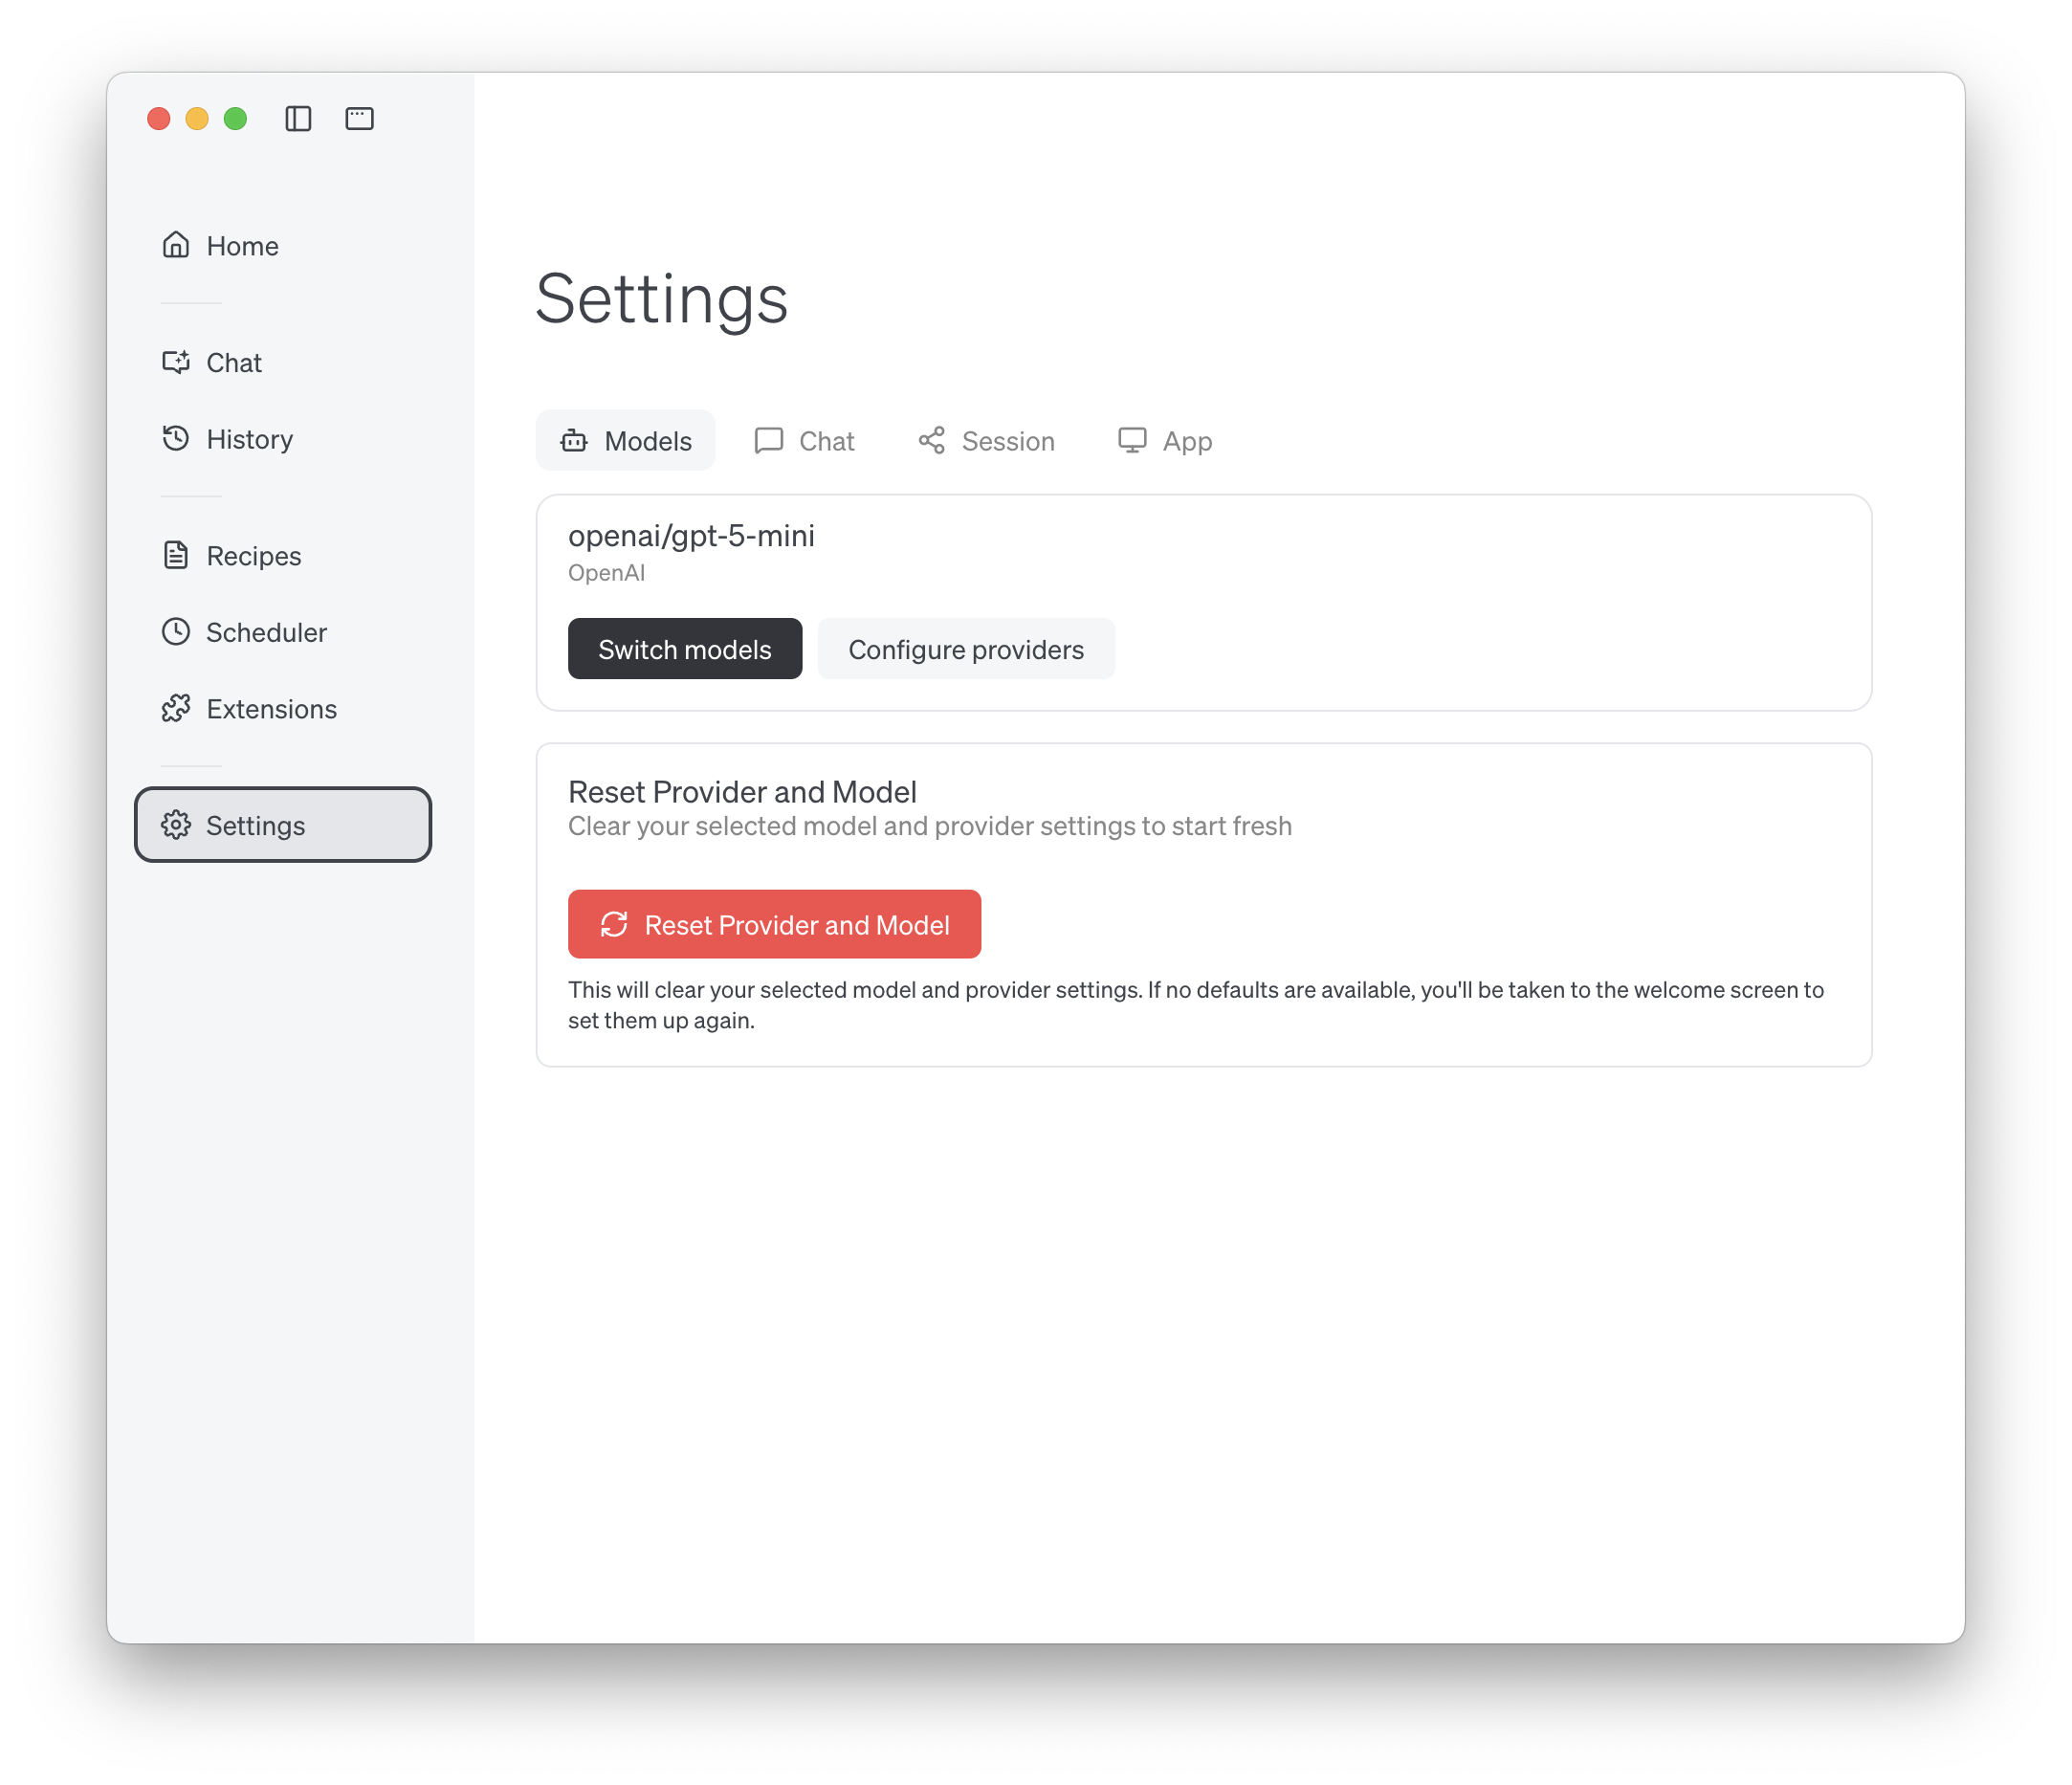
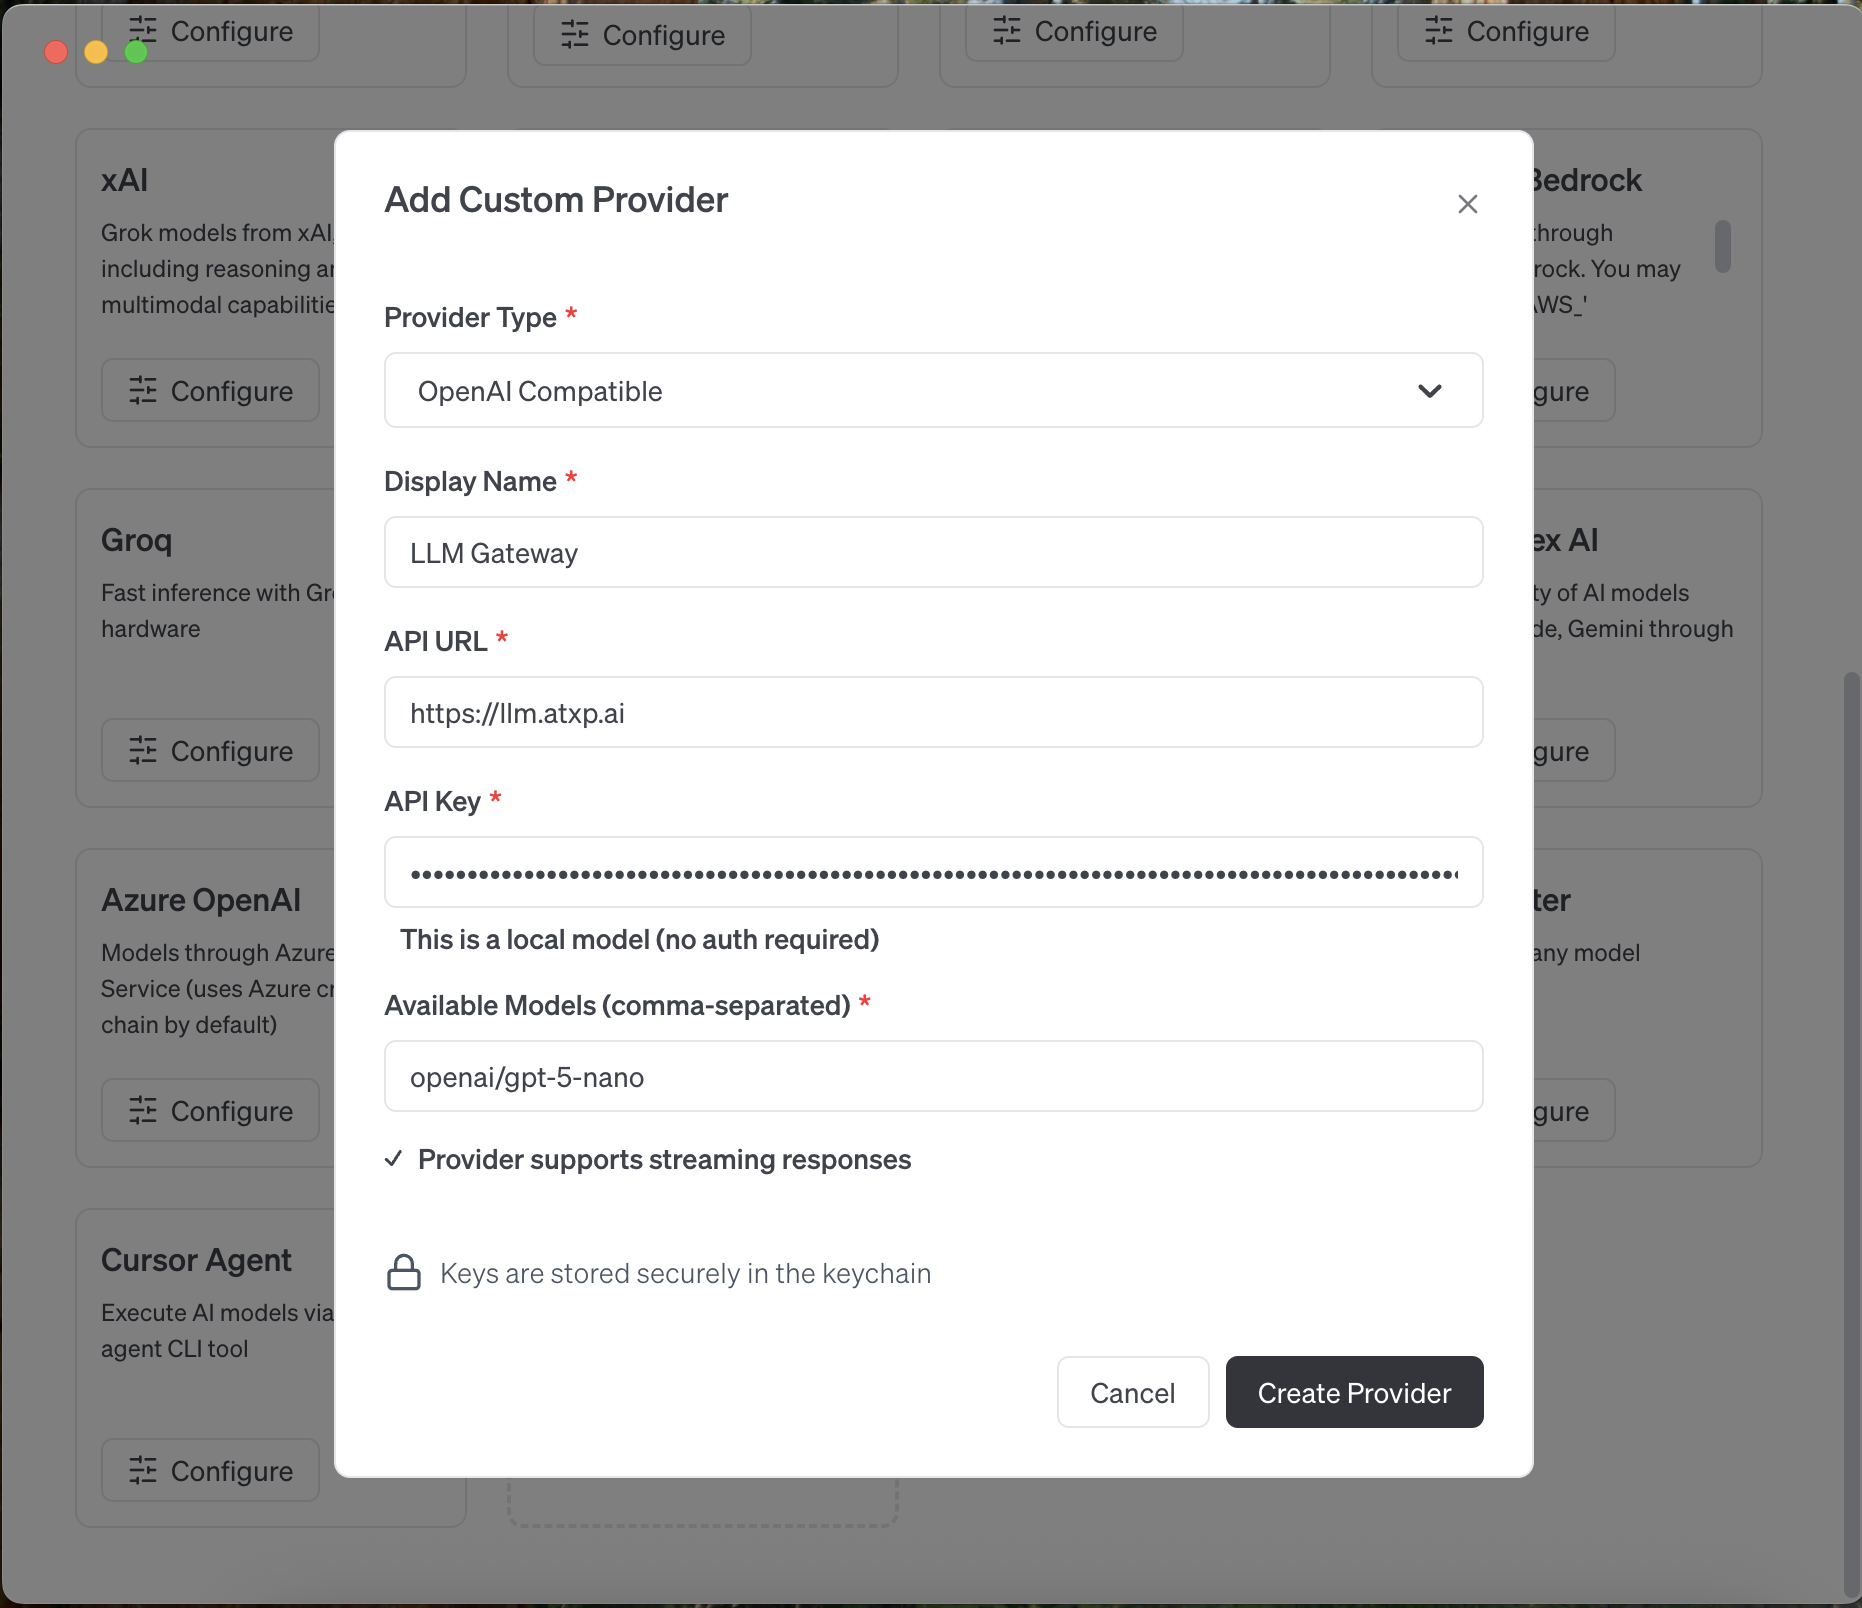
Add a Custom Provider
Select Add Custom Provider from the list of providers.Configure the OpenAI provider with these settings:
- Provider Type: OpenAI Compatible
- Display Name: LLM Gateway
-
API URL:
https://llm.atxp.ai - API Key: Your ATXP connection string
-
Available Models: openai/gpt-5-nano note: Goose requires this field, but will load all the available models from the gateway when you Switch models
Switch models
Navigate to Settings → Switch models to select from the available models provided by the ATXP LLM Gateway.